Here is the step by step process for integrating Salesforce with BuzzBoard.
Install
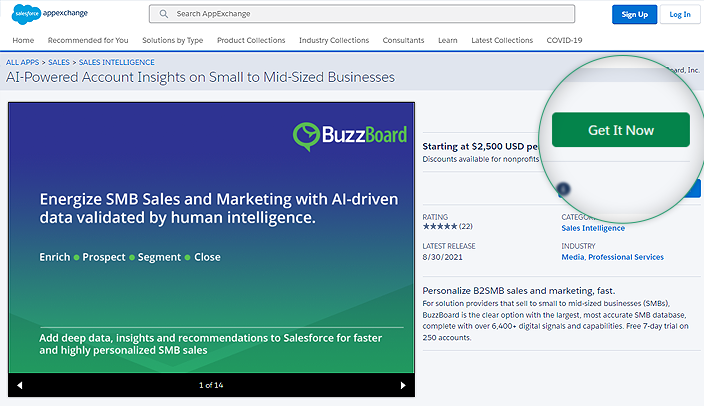
1. Go to Salesforce AppExchange and search for BuzzBoard.
Now click on BuzzBoard from the list. This will open BuzzBoard app listing page.
Click on the Get It Now to have the free version installed.
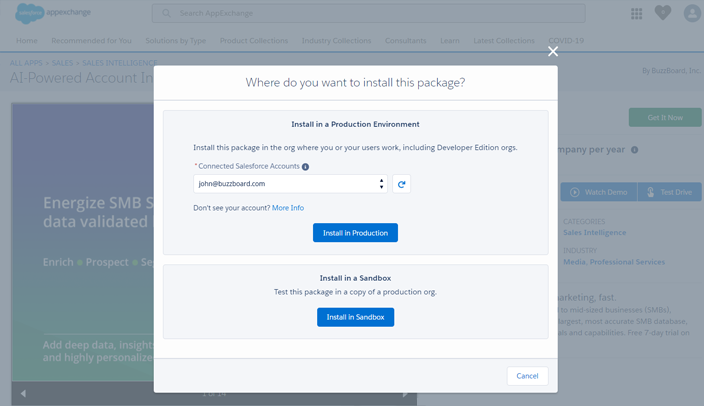
2. The authentication window is displayed. Click on Log In and enter your SF credentials.
3. In the next step, click the Install in production button if you want the app to be installed on production/live environment or Click Install in sandbox button, if you want the app to be installed in the Sandbox/test environment.
You will be redirected to the login screen of the environment (Production or Sandbox).
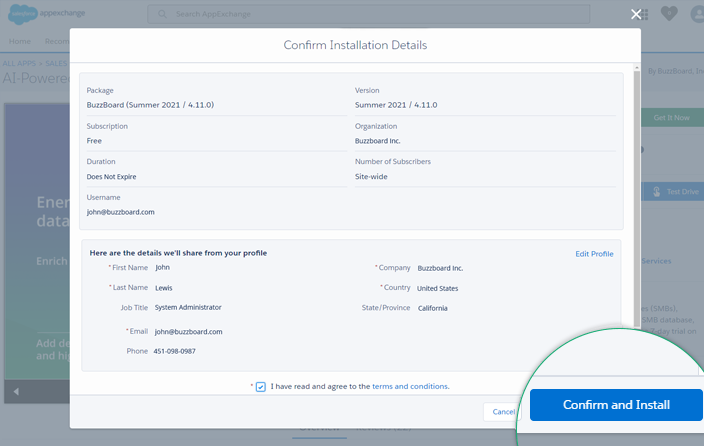
4. Log in to your Salesforce account with the admin credentials and you can see the BuzzBoard installation screen.
In the installation summary screen, select the I have read and agree to the terms and conditions checkbox and click Confirm and Install.
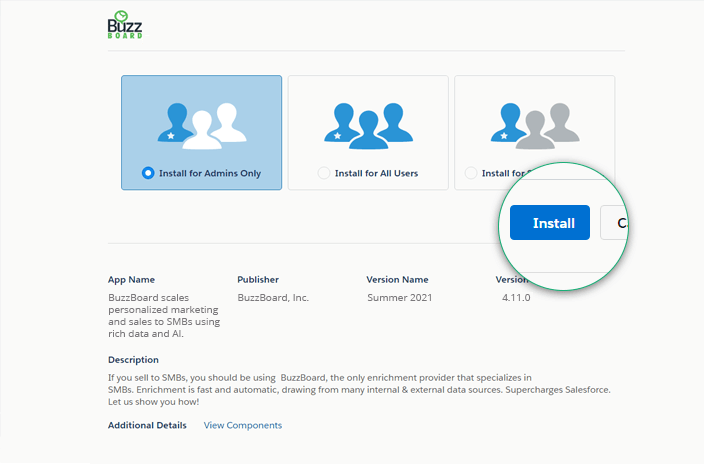
5. Select Install for Admins Only radio button (recommended) and click Install to continue with the installation.
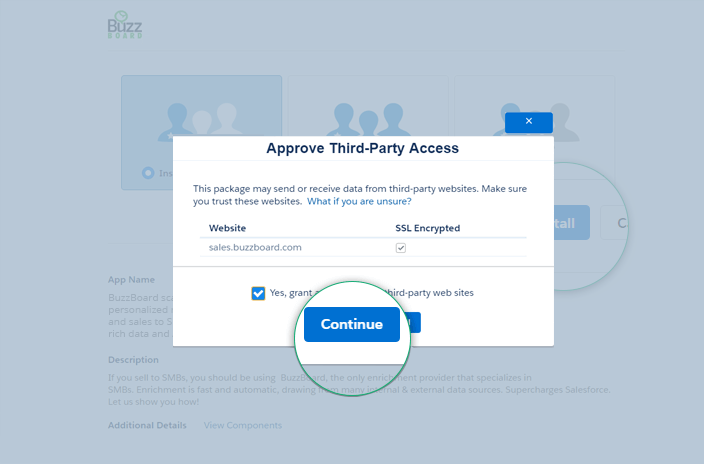
6. Approve the access and click Continue to complete the installation.
7. Once the BuzzBoard app is installed, a confirmation page is shown.
Click on Done to configure the BuzzBoard integration. You will now be directed to the Configuration screen.
Configure
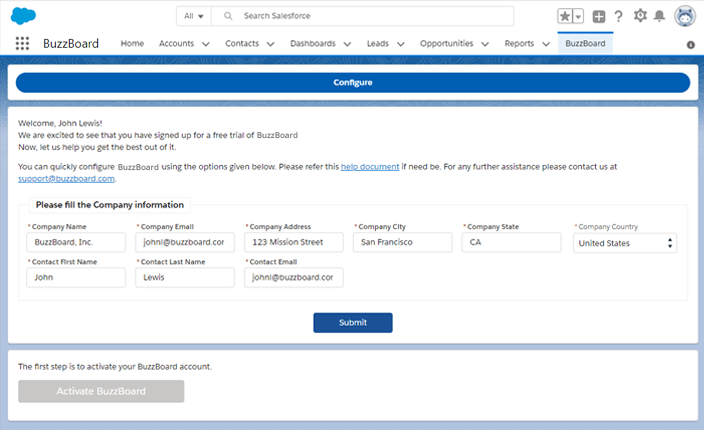
8. In the configuration screen, share your Business and Contact Information and click on Submit.
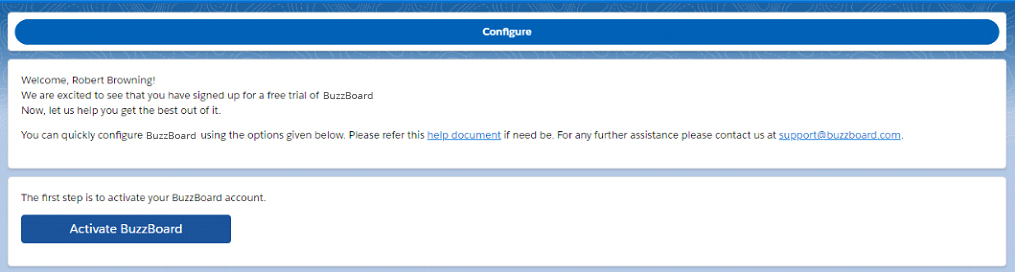
Activate the integration between Salesforce and BuzzBoard by clicking on the Activate BuzzBoard button.
Now you will be redirected to the Salesforce Login page.
Enter the Salesforce Admin Credentials that were used to install the BuzzBoard App. This completes the authentication.
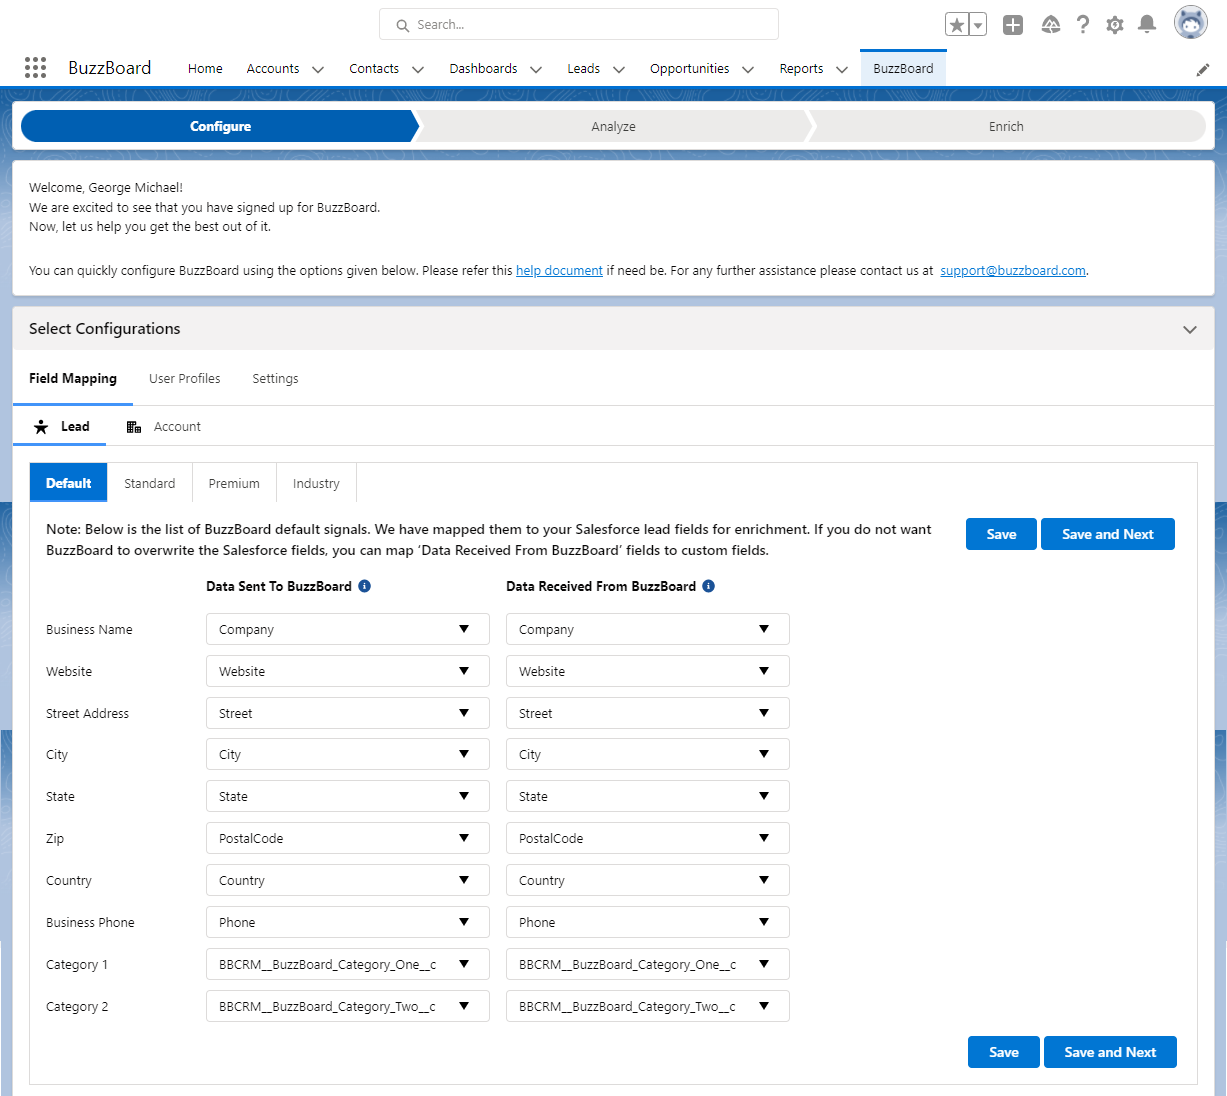
9. After successful authentication, BuzzBoard configuration screen will be displayed with the following options:
Field Mapping
The fields are pre-populated and mapped. If you do not want BuzzBoard to overwrite Salesforce fields, you can map ‘Data Received From BuzzBoard’ to custom fields and click Save and Next
Similarly, you can map the fields for account in the Account tab.
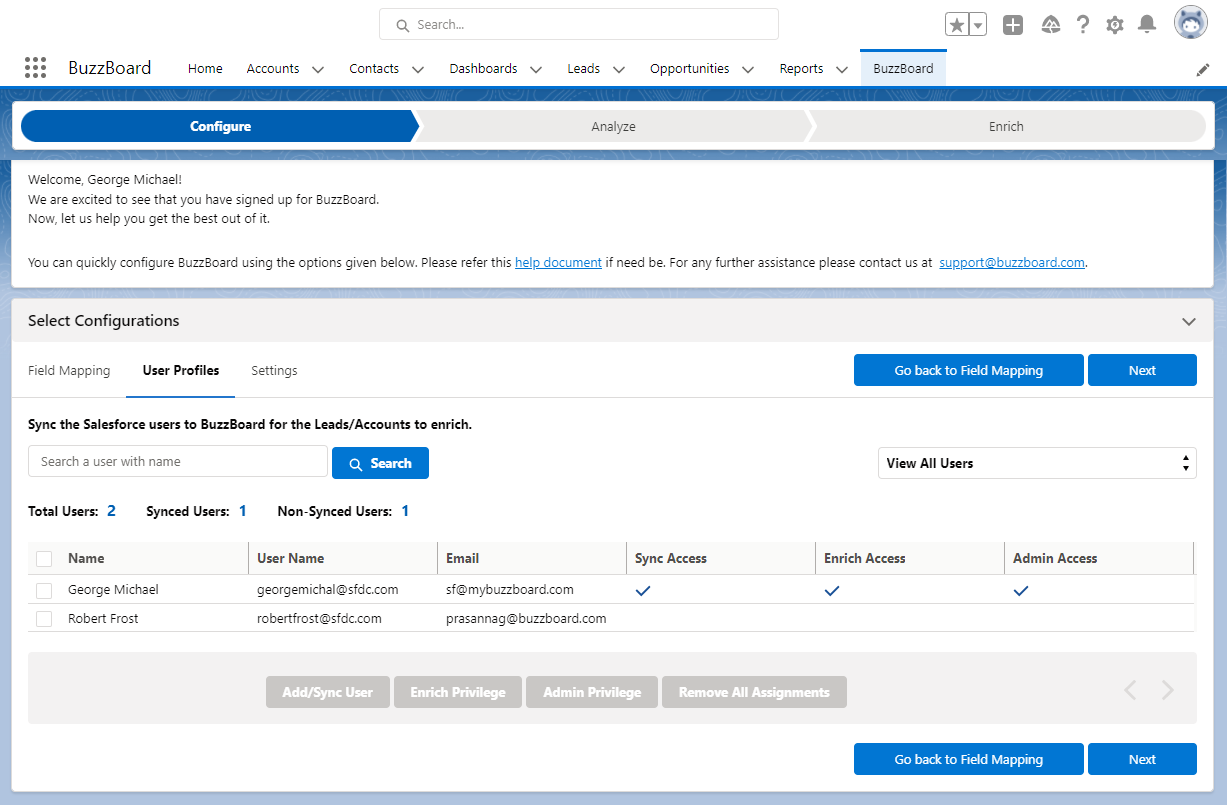
User Profiles
Click the User tab to navigate to the Salesforce active users list.
Select the user and the BuzzBoard instance from the Available BuzzBoard Instances drop-down.
Click Add/Sync user to enable BuzzBoard Sync.
After the users are synced, you can view the synced user list in BuzzBoard Users tab.
Note: – Add/Sync User Criteria:
If the selected user has the same email address in both BuzzBoard and Salesforce, the user will be mapped. However, if the email addresses are different, BuzzBoard will create a new user.
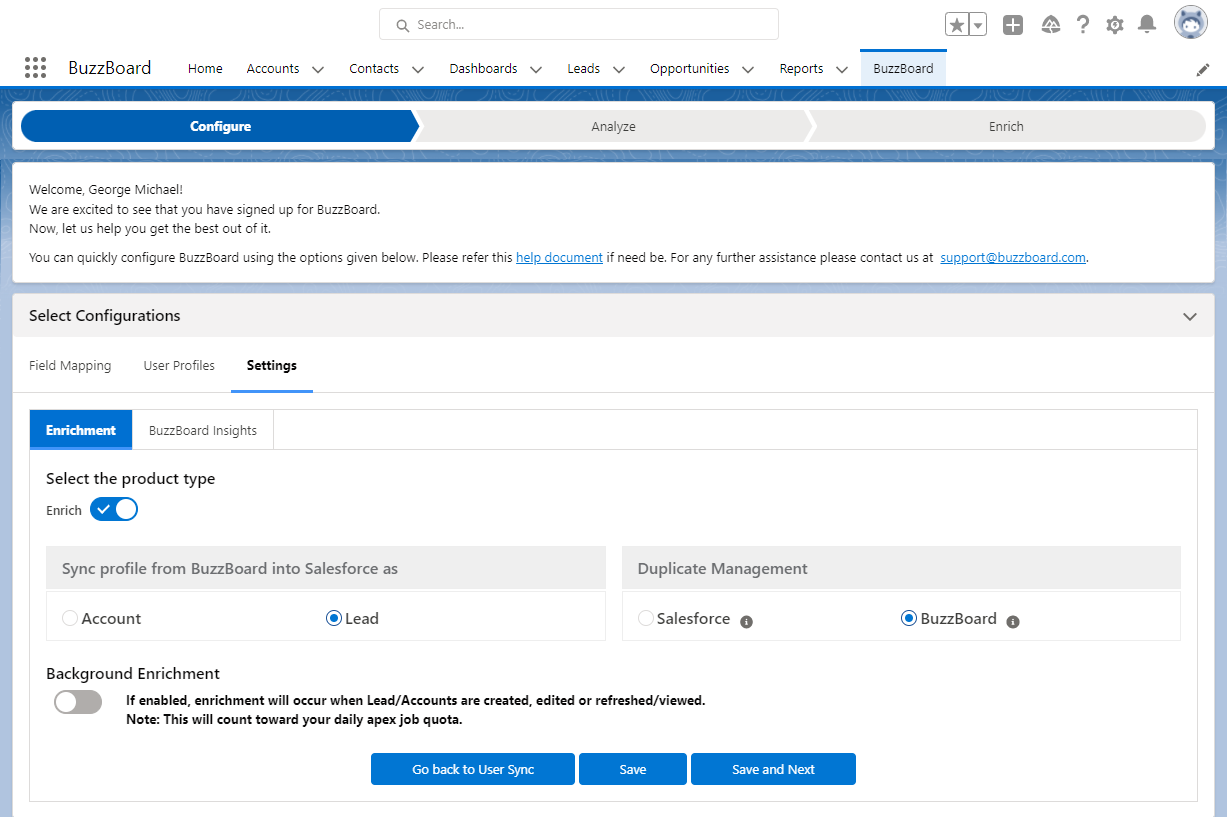
Settings
Select the product type – Enrich
Enrich: This product type will allow you to enrich your Salesforce records (Leads/Accounts) with BuzzBoard information.
Have smarter conversations – Get a complete profile of your leads and accounts automatically and keep them updated.
Sync Profile from BuzzBoard into Salesforce as
If you select Lead, then the Profiles added in BuzzBoard will be synced as a Lead in Salesforce.
If you select Account, then the Profiles added in BuzzBoard will be synced as an Account in Salesforce.
Duplicate Management
If you select Salesforce, the default Salesforce duplication logic will be applied when the Profiles sync from BuzzBoard to Salesforce.
If you select BuzzBoard, then the default duplicate logic of Salesforce and the BuzzBoard duplicate logic that you set up would be applied when the Profiles sync from BuzzBoard to Salesforce.
Background Enrichment
If enabled, when the Lead/Account is created, edited or refreshed/viewed they will automatically get enriched with BuzzBoard data in the background.
BuzzBoard Rich Profile
If enabled, when the Lead/Account page is accessed, you see a BuzzBoard Profile section on the right hand-side. It will give the profile of the business that has 100+ signals.
Page Layout
To edit the Lead/Account layout for users synced to BuzzBoard, drag and drop the items into the page.
Drag and drop the BuzzBoard fields (BuzzScore, BuzzBoard Audit Link, BuzzBoard Category one, BuzzBoard Category Two, etc.) to the layout.
Similarly, drag and drop the BuzzBoard Buttons (Sync to BuzzBoard) to the layout.
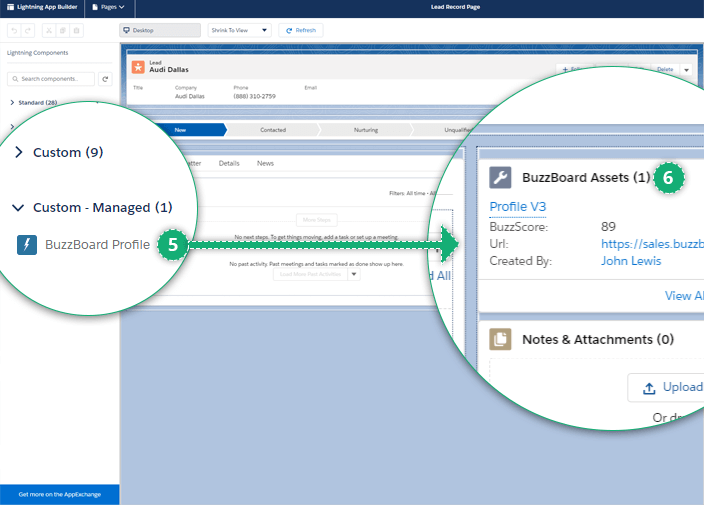
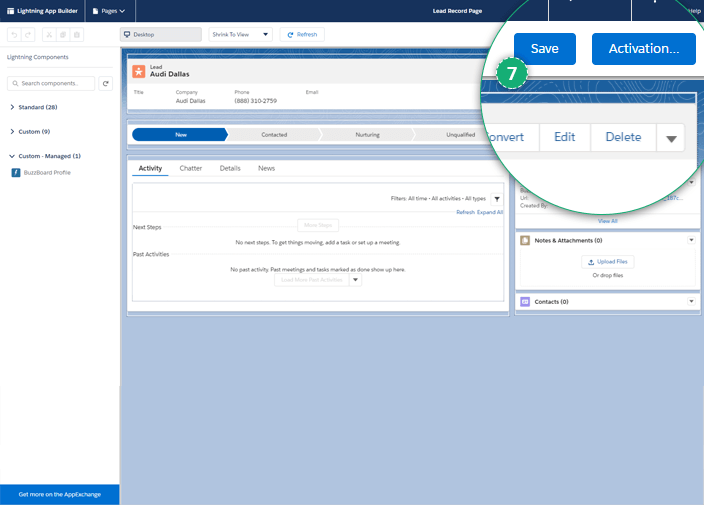
Enable BuzzBoard Profile
To enable the BuzzBoard Profile on the right panel follow the below steps:
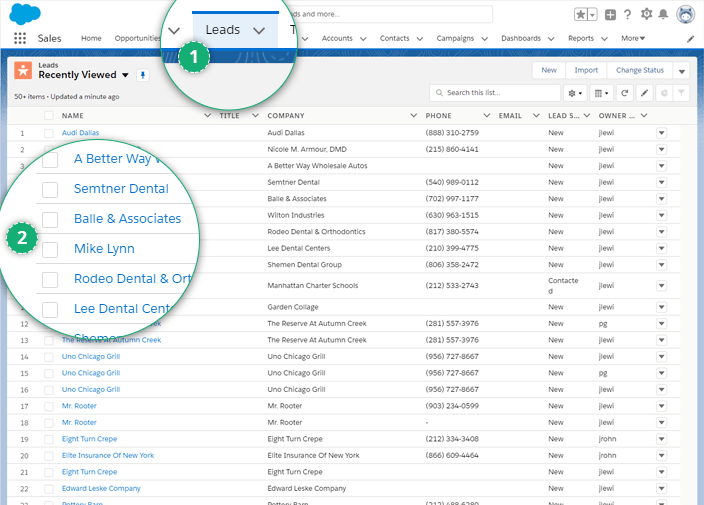
Step 1 – Go to Leads
Step 2 – Click on a lead to view the Leads details page
Step 3 – Click on Set-up
Step 4 – Click on the Edit Page
Step 5 – Go to Custom – Managed section on left
Step 6 – Select BuzzBoard Panel and drag it to the right panel
Step 7 – Click on the Save and then Done
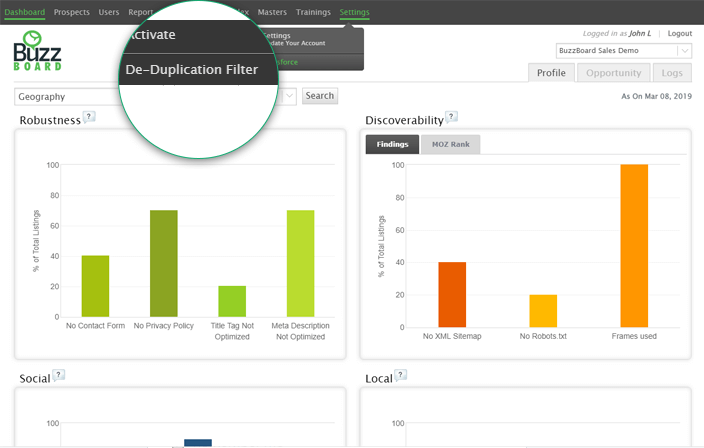
Configure BuzzBoard Duplication Logic
Go to Settings > Salesforce > Deduplication Filter.
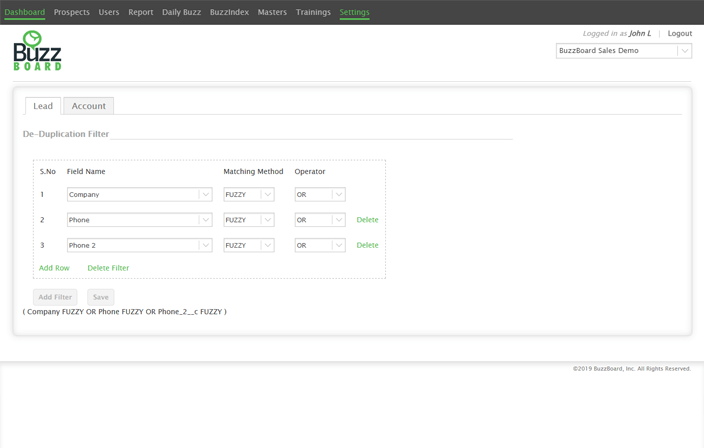
A Deduplication page is displayed, where you can set the conditions for Lead or Account.
You can build your custom Duplicate logic
To add more fields to your condition, click on the Add Row button.
Similarly, to add more filters, click the Add Filter button.